
Vue 实例的生命周期钩子
(生命周期函数就是 Vue 实例在某一个时间点会自动执行的函数)
每个 Vue 实例在被创建时都要经过一系列的初始化过程——例如,需要设置数据监听、编译模板、将实例挂载到 DOM 并在数据变化时更新 DOM 等。同时在这个过程中也会运行一些叫做生命周期钩子的函数,这给了用户在不同阶段添加自己的代码的机会。
比如 created 钩子可以用来在一个实例被创建之后执行代码:
new Vue({ data: { a: 1 }, created: function () { // `this` 指向 vm 实例 console.log('a is: ' + this.a) }})// => "a is: 1"生命周期图示
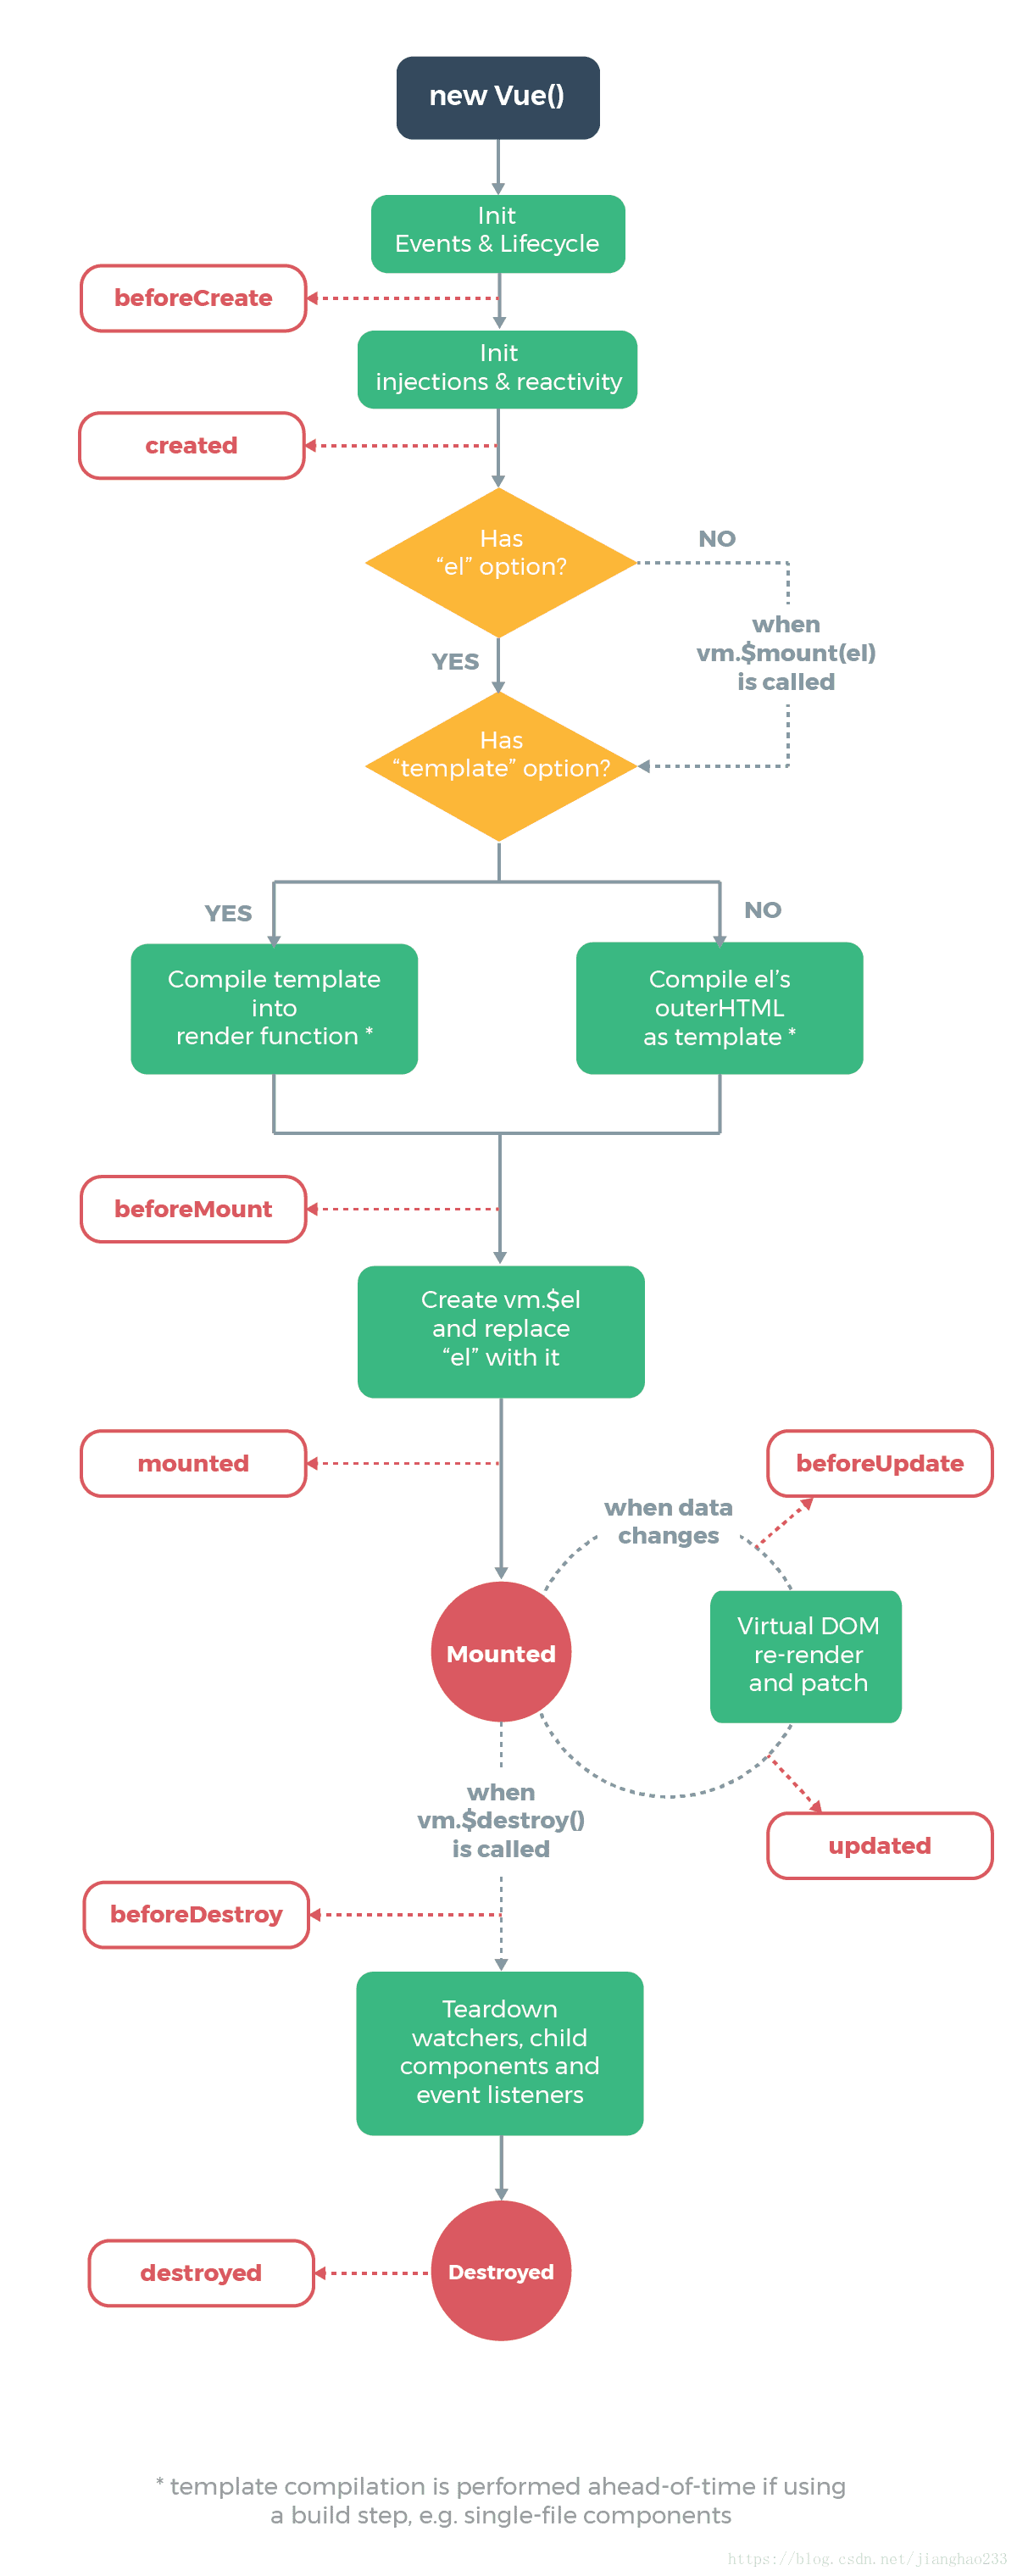
图解:
步骤一
基础初始化之后,自动调用函数 beforeCreate
<!DOCTYPE html><html lang="en"><head> < charset="UTF-8"> < >Vue 实例生命周期函数</ > < src = "./vue.js"></ ></head><body> <div id ='app'>hello world</div> < > var vm = new Vue({ el:'#root', beforeCreate:function(){ console.log("beforeCreate"); } }) </ > </body></html>输出:
当创建 Vue 实例的时候,在经过基础的初始化之后,会自动的调用生命周期函数 beforeCreate
步骤二
调用函数 beforeCreate 之后,会处理一些外部的注入(双向绑定),这时 Vue 的一些初始化操作基本完成;自动执行生命周期函数 Created
<!DOCTYPE html><html lang="en"><head> < charset="UTF-8"> < >Vue 实例生命周期函数</ > < src = "./vue.js"></ ></head><body> <div id ='app'>hello world</div> < > var vm = new Vue({ el:'#app', beforeCreate:function(){ console.log("beforeCreate"); }, created:function(){ console.log("created"); } }) </ > </body></html> created:function(){ console.log("created"); } }) </ > </body></html>
输出: 
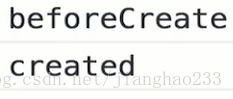
当执行完 beforeCreate 之后, created 也被自动执行
步骤三
查询“el” 和 “template ”(模板)
<!DOCTYPE html><html lang="en"><head> < charset="UTF-8"> < >Vue 实例生命周期函数</ > < src = "./vue.js"></ ></head><body> <div id ='app'>hello world</div> < > var vm = new Vue({ el:'#app', template:"<div>hello world</div>", beforeCreate:function(){ console.log("beforeCreate"); }, created:function(){ console.log("created"); } }) </ > </body></html> el:'#app', template:"<div>hello world</div>", beforeCreate:function(){ console.log("beforeCreate"); }, created:function(){ console.log("created"); } }) </ > </body></html>执行完生命周期函数 Created , 询问条件--Vue 实例里是否有 “el” 这个选项,在代码中可知有 “el”选项,故选择 “yes” 这条线 ;接着询问是否有 “template ”(模板);知没有该选项,则由图知选择右边的分支,将 el 的 outerHTML 当做“template ”(模板)[ 即当Vue 实例中没有“template ”(模板);会将 el 中对应的HTML当做“template ”(模板)来进行渲染,即<div id ='app'>hello world</div>]
步骤四
执行生命周期函数 beforeMount 和 生命周期函数 mounted
<!DOCTYPE html><html lang="en"><head> < charset="UTF-8"> < >Vue 实例生命周期函数</ > < src = "./vue.js"></ ></head><body> <div id ='app'>hello world</div> < > var vm = new Vue({ el:'#app', template:"<div>hello world</div>", beforeCreate:function(){ console.log("beforeCreate"); }, created:function(){ console.log("created"); }, beforeMount:function(){ console.log(this.$el); console.log("beforeMount"); }, mounted:function(){ console.log(this.$el); console.log("mounted"); } }) </ > </body></html> beforeMount:function(){ console.log(this.$el); console.log("beforeMount"); }, mounted:function(){ console.log(this.$el); console.log("mounted"); } }) </ > </body></html>
输出:
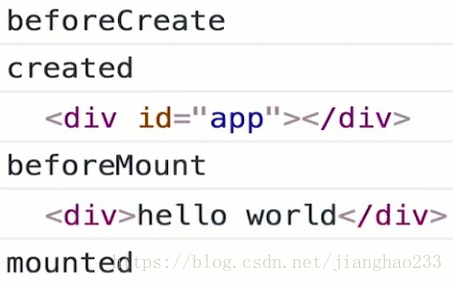
有了模板和数据之后,并不是直接将模板渲染到页面上;在页面渲染之前,自动执行生命周期函数 beforeMount,执行完成后页面没有渲染,模板结合数据生成的最终 Vue 实例里面的 DOM 元素会被挂载到页面之上,即显示“hello world”之后,自动执行生命周期函数 mounted ,执行完成后页面渲染完毕。
步骤五
执行生命周期函数 beforeDestory 和 生命周期函数 destoryed;
执行生命周期函数 beforeUpdate 和 生命周期函数updated
<!DOCTYPE html><html lang="en"><head> < charset="UTF-8"> < >Vue 实例生命周期函数</ > < src = "./vue.js"></ ></head><body> <div id ='app'>hello world</div> < > var vm = new Vue({ el:'#app', template:"<div>{{test}}</div>", data:{ test:"hello world" }, beforeCreate:function(){ console.log("beforeCreate"); }, created:function(){ console.log("created"); }, beforeMount:function(){ console.log(this.$el); console.log("beforeMount"); }, mounted:function(){ console.log(this.$el); console.log("mounted"); }, beforeDestroy:function(){ console.log("beforeDestroy"); }, destroyed:function(){ console.log("destroyed"); }, beforeUpdate:function(){ consloe.log("beforeUpdate"); }, updated:function(){ consloe.log("updated"); } }) </ > </body></html> template:"<div>{{test}}</div>", data:{ test:"hello world" }, beforeCreate:function(){ console.log("beforeCreate"); }, created:function(){ console.log("created"); }, beforeMount:function(){ console.log(this.$el); console.log("beforeMount"); }, mounted:function(){ console.log(this.$el); console.log("mounted"); }, beforeDestroy:function(){ console.log("beforeDestroy"); }, destroyed:function(){ console.log("destroyed"); }, beforeUpdate:function(){ consloe.log("beforeUpdate"); }, updated:function(){ consloe.log("updated"); } }) </ > </body></html>输出:
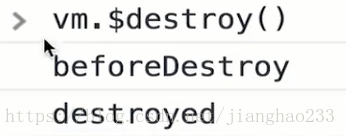
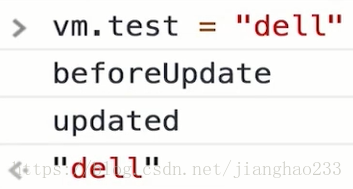
当 vm.$destroy( ) 被调用时(组件被销毁时),执行生命周期函数 beforeDestory ;当调用完成后,即组件完全被销毁后,执行生命周期函数 destoryed.
当数据发生改变时,在页面渲染之前,执行生命周期函数 beforeUpdate; 当重新渲染之后 ,执行生命周期函数 updated
补充:上文提到 8个 API,总共 11 个 生命周期函数钩子 API
9.
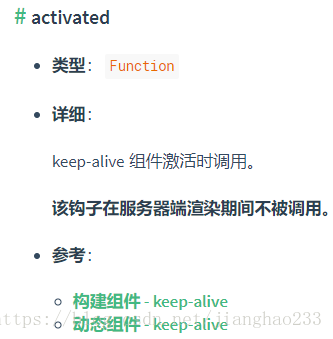
10.
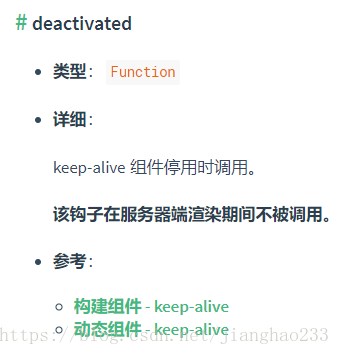
11.
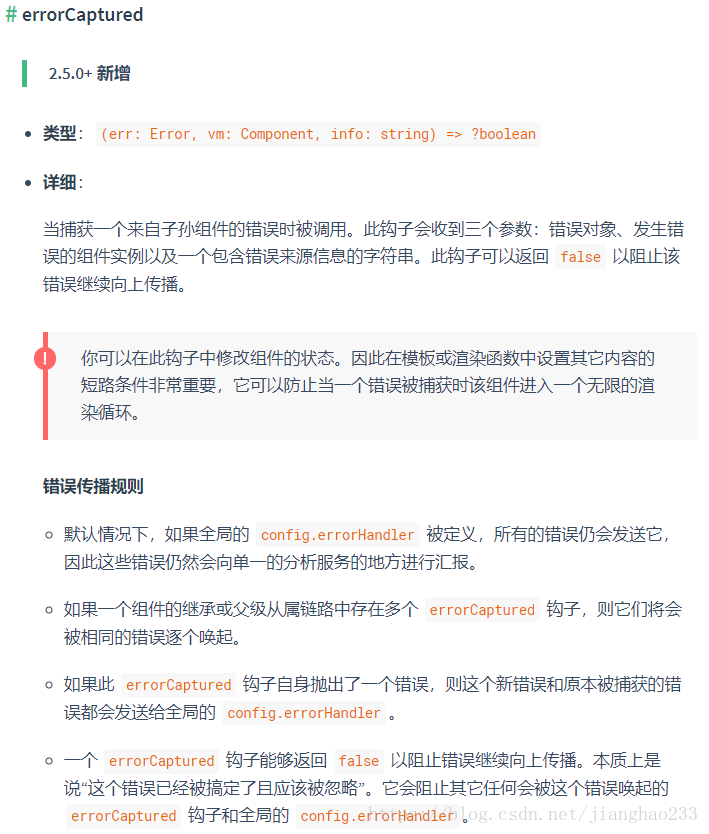
继续阅读与本文标签相同的文章
初识 Vue(06)---(Vue 实例)
Java 学习(20)--异常 / IO 流
-
Java 学习(25)---(IO流之数据流 / 内存操作流 / 打印流 / 标准输入输出流)
2026-05-26栏目: 教程
-
Java 学习(24)---(IO流之字符流)
2026-05-26栏目: 教程
-
Java 学习(23)---(IO流之字节流)
2026-05-26栏目: 教程
-
初识 JSP---(Filter)
2026-05-26栏目: 教程
-
Java 学习(22)---(类的加载与反射)
2026-05-26栏目: 教程