
我们针对于HongHu cloud的eureka项目做以下构建,整个构建的过程很简单,我会将每一步都构建过程记录下来,希望可以帮助到大家:
- 创建一个名为particle-common-eureka的maven项目,继承particle-commonservice,具体的pom. 配置文件如下:
<? version="1.0" encoding="UTF-8"?> <project ns="http://maven.apache.org/POM/4.0.0" ns:xsi="http://www.w3.org/2001/ Schema-instance" xsi:schemaLocation="http://maven.apache.org/POM/4.0.0 http://maven.apache.org/xsd/maven-4.0.0.xsd"> <modelVersion>4.0.0</modelVersion> <parent> <groupId>com.ml.honghu</groupId> <artifactId>particle-commonservice</artifactId> <version>0.0.1-SNAPSHOT</version> </parent> <artifactId>particle-commonservice-eureka</artifactId> <packaging>jar</packaging> <name>particle-commonservice-eureka</name> <de ion>particle-commonservice project for Spring Boot</de ion> <dependencies> <dependency> <groupId>org.spring work.cloud</groupId> <artifactId>spring-cloud-starter-eureka-server</artifactId> </dependency> <dependency> <groupId>org.spring work.boot</groupId> <artifactId>spring-boot-starter-security</artifactId> </dependency> <dependency> <groupId>org.spring work.boot</groupId> <artifactId>spring-boot-devtools</artifactId> </dependency> <dependency> <groupId>org.spring work.boot</groupId> <artifactId>spring-boot-starter-test</artifactId> <scope>test</scope> </dependency> </dependencies> <build> <plugins> <plugin> <groupId>org.spring work.boot</groupId> <artifactId>spring-boot-maven-plugin</artifactId> <executions> <execution> <id>1</id> <goals> <goal>repackage</goal> </goals> </execution> <execution> <id>2</id> <goals> <goal>build-info</goal> </goals> </execution> </executions> <configuration> <executable>true</executable> </configuration> </plugin> </plugins> </build> </project> - 在启动类入口引用eureka的相关配置,代码如下:
package com.ml.honghu; import org.spring work.boot.SpringApplication; import org.spring work.boot.autoconfigure.SpringBootApplication; import org.spring work.cloud.netflix.eureka.server.EnableEurekaServer; @EnableEurekaServer @SpringBootApplication public class ServiceApplication { public static void main(String[] args) { SpringApplication.run(ServiceApplication.class, args); } } - 配置application.yml文件
<code class="language-html"># server (eureka 默认端口为:8761) server: port: 8761 Spring spring: application: name: particle-commonservice-erueka eureka eureka: client: 是否注册到eureka register-with-eureka: true # 是否从eureka获取注册信息 fetch-registry: false availability-zones: honghu: honghuZone service-url: honghuZone: http://honghu:123456@localhost:8761/eureka/ defaultZone: http://honghu:123456@localhost:8761/eureka/ instance: prefer-ip-address: true hostname: localhost dataMap: zone: honghuZone user: ${security.user.name} password: {security.user.password} 指定环境 environment: dev 指定数据中心 datacenter: honghu 关闭自我保护模式 server: enable-self-preservation: false 设置清理无效节点的时间间隔,默认60000,即是60s eviction-interval-timer-in-ms: 60000 服务认证 security: basic: enabled: true user: name: honghu password: 123456 management: security: enabled: false </code> - 增加项目的log机制和打包运行机制(后面我们会详细编写针对于Linux Centos下的打包部署机制)
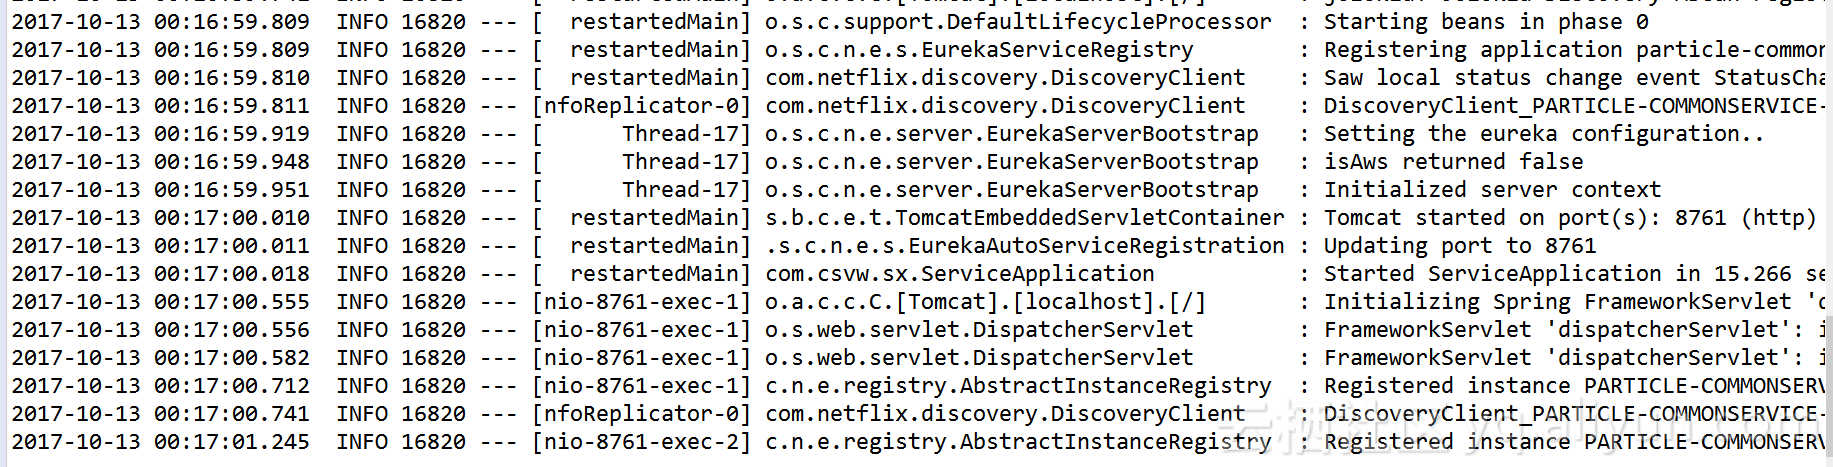
- 自此整个项目部署完成,通过手动方式进行Run As --> Spring Boot App,运行结果如下:
控制台运行结果:
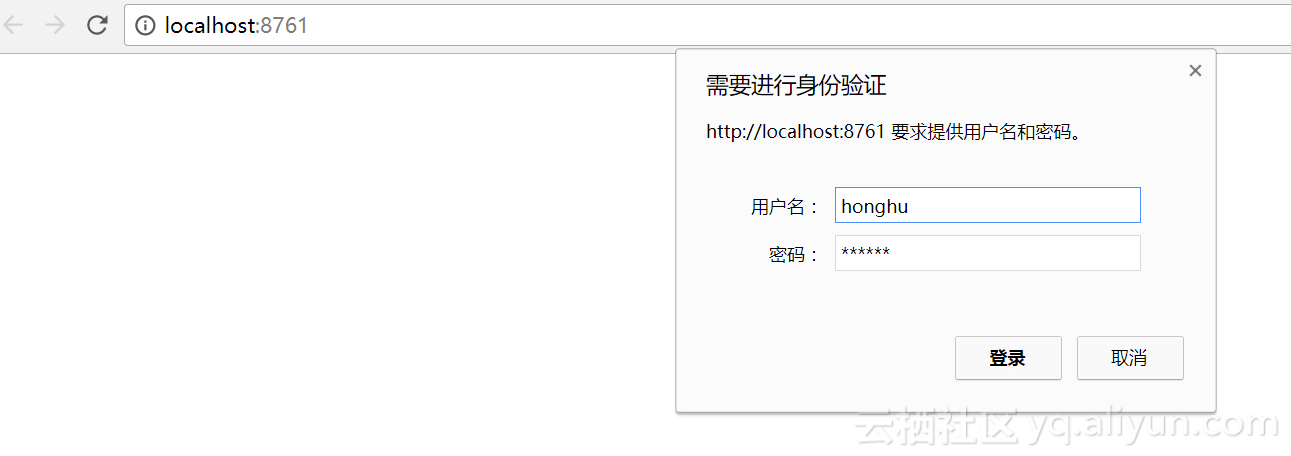
访问控制台并登陆:
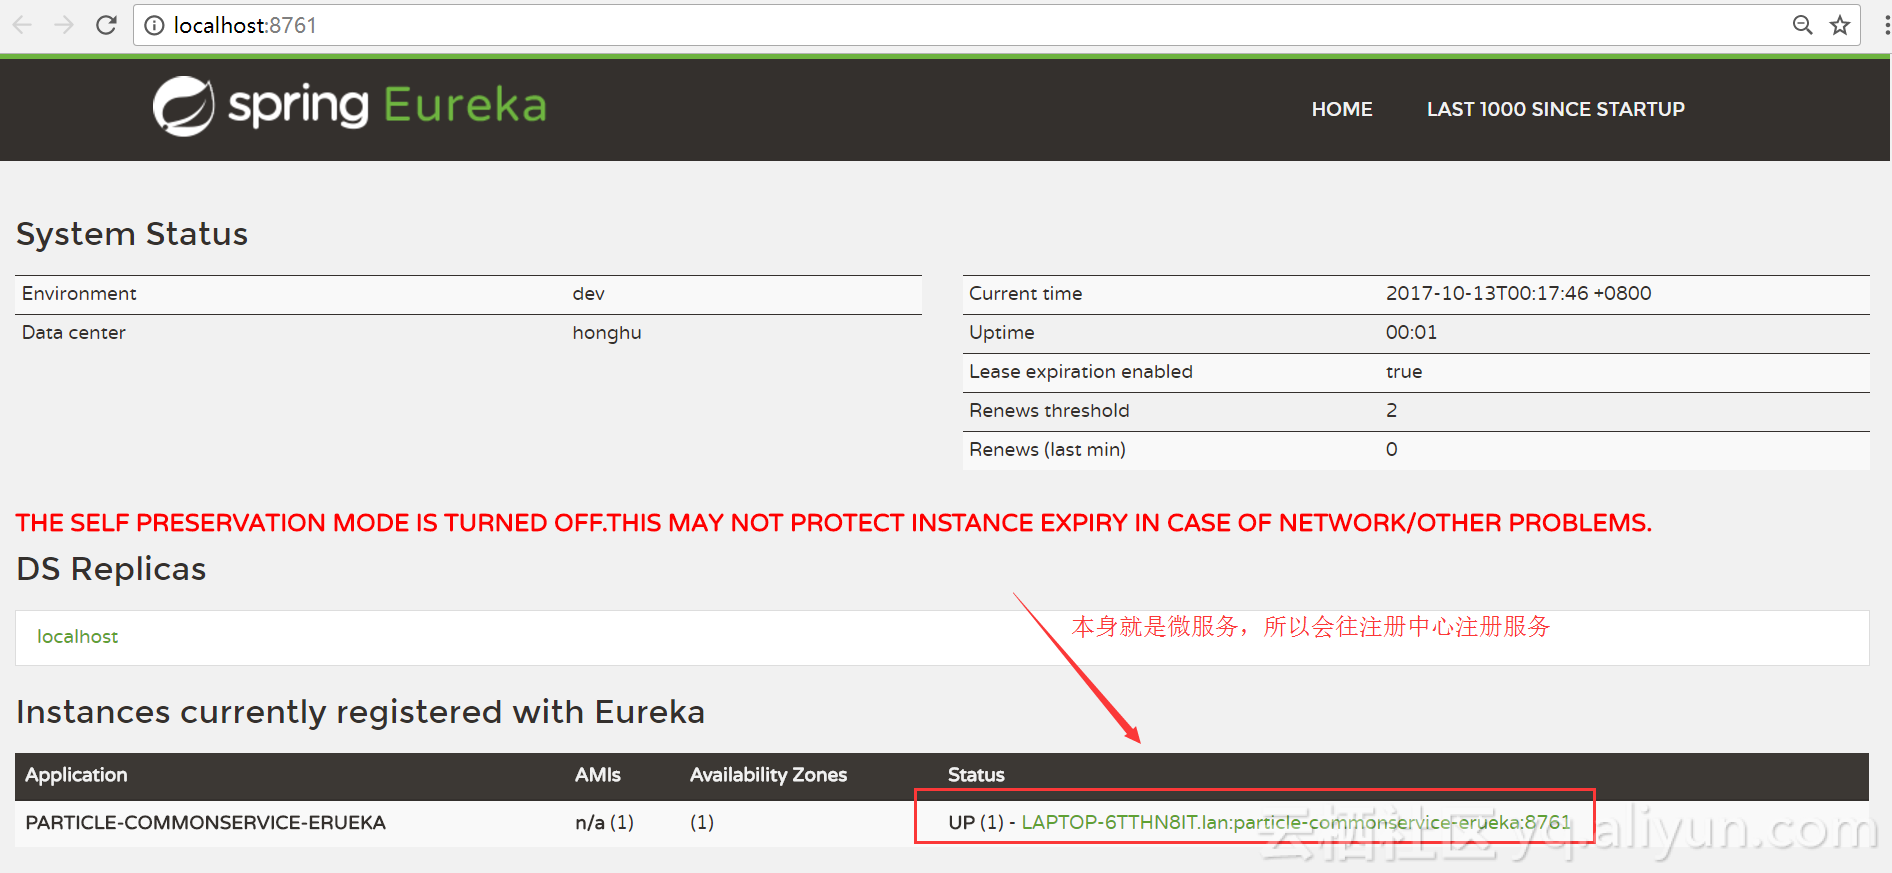
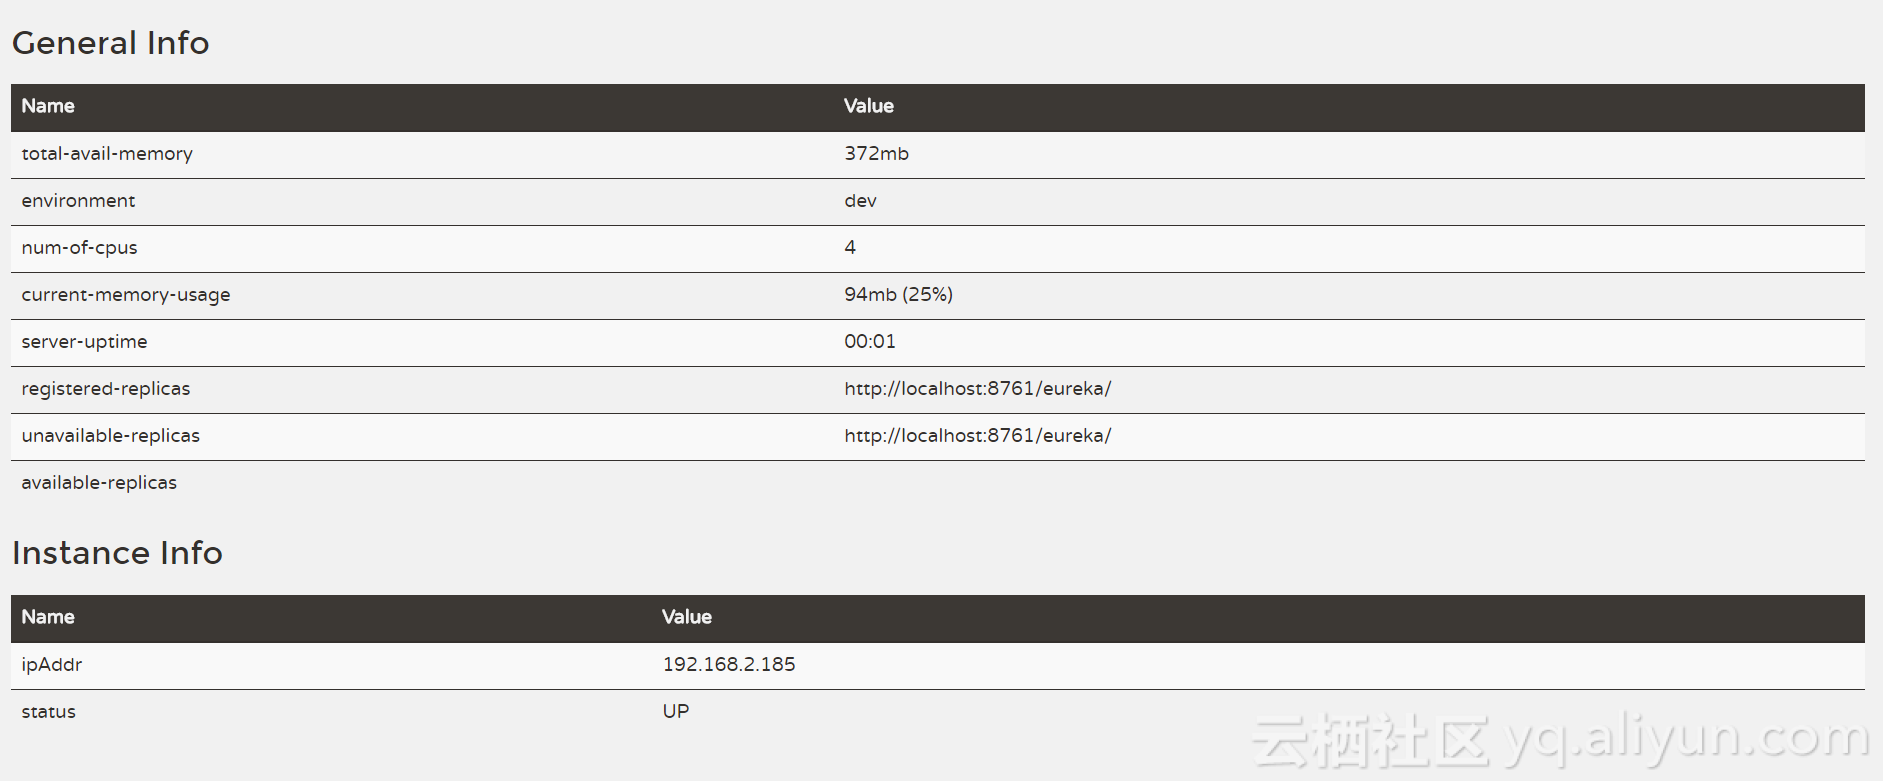
控制台运行效果:
继续阅读与本文标签相同的文章
-
关于ssh端口转发
2026-05-27栏目: 教程
-
5 门正在奋力崛起的编程语言
2026-05-27栏目: 教程
-
深度思维,不过是为了余生获得更多的自由
2026-05-27栏目: 教程
-
Mybatis源码解读-设计模式总结
2026-05-27栏目: 教程
-
开源神器!答应我,别再用 abc 做变量名了好么!
2026-05-27栏目: 教程